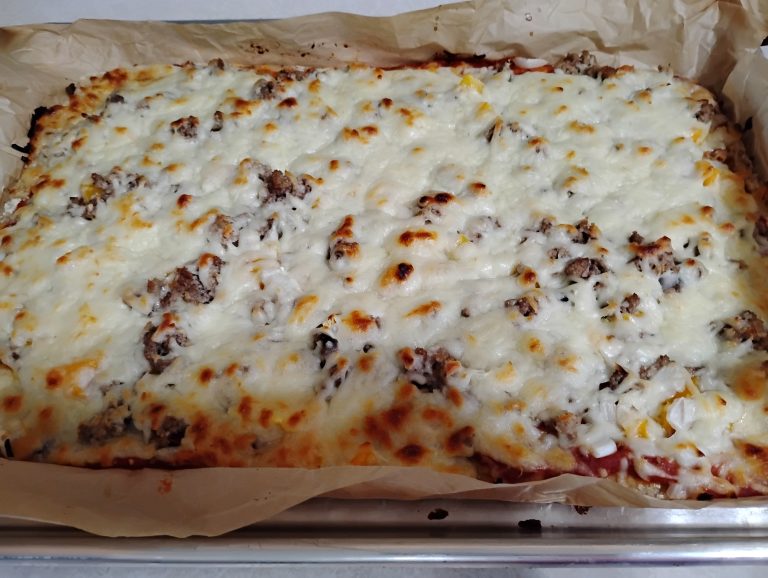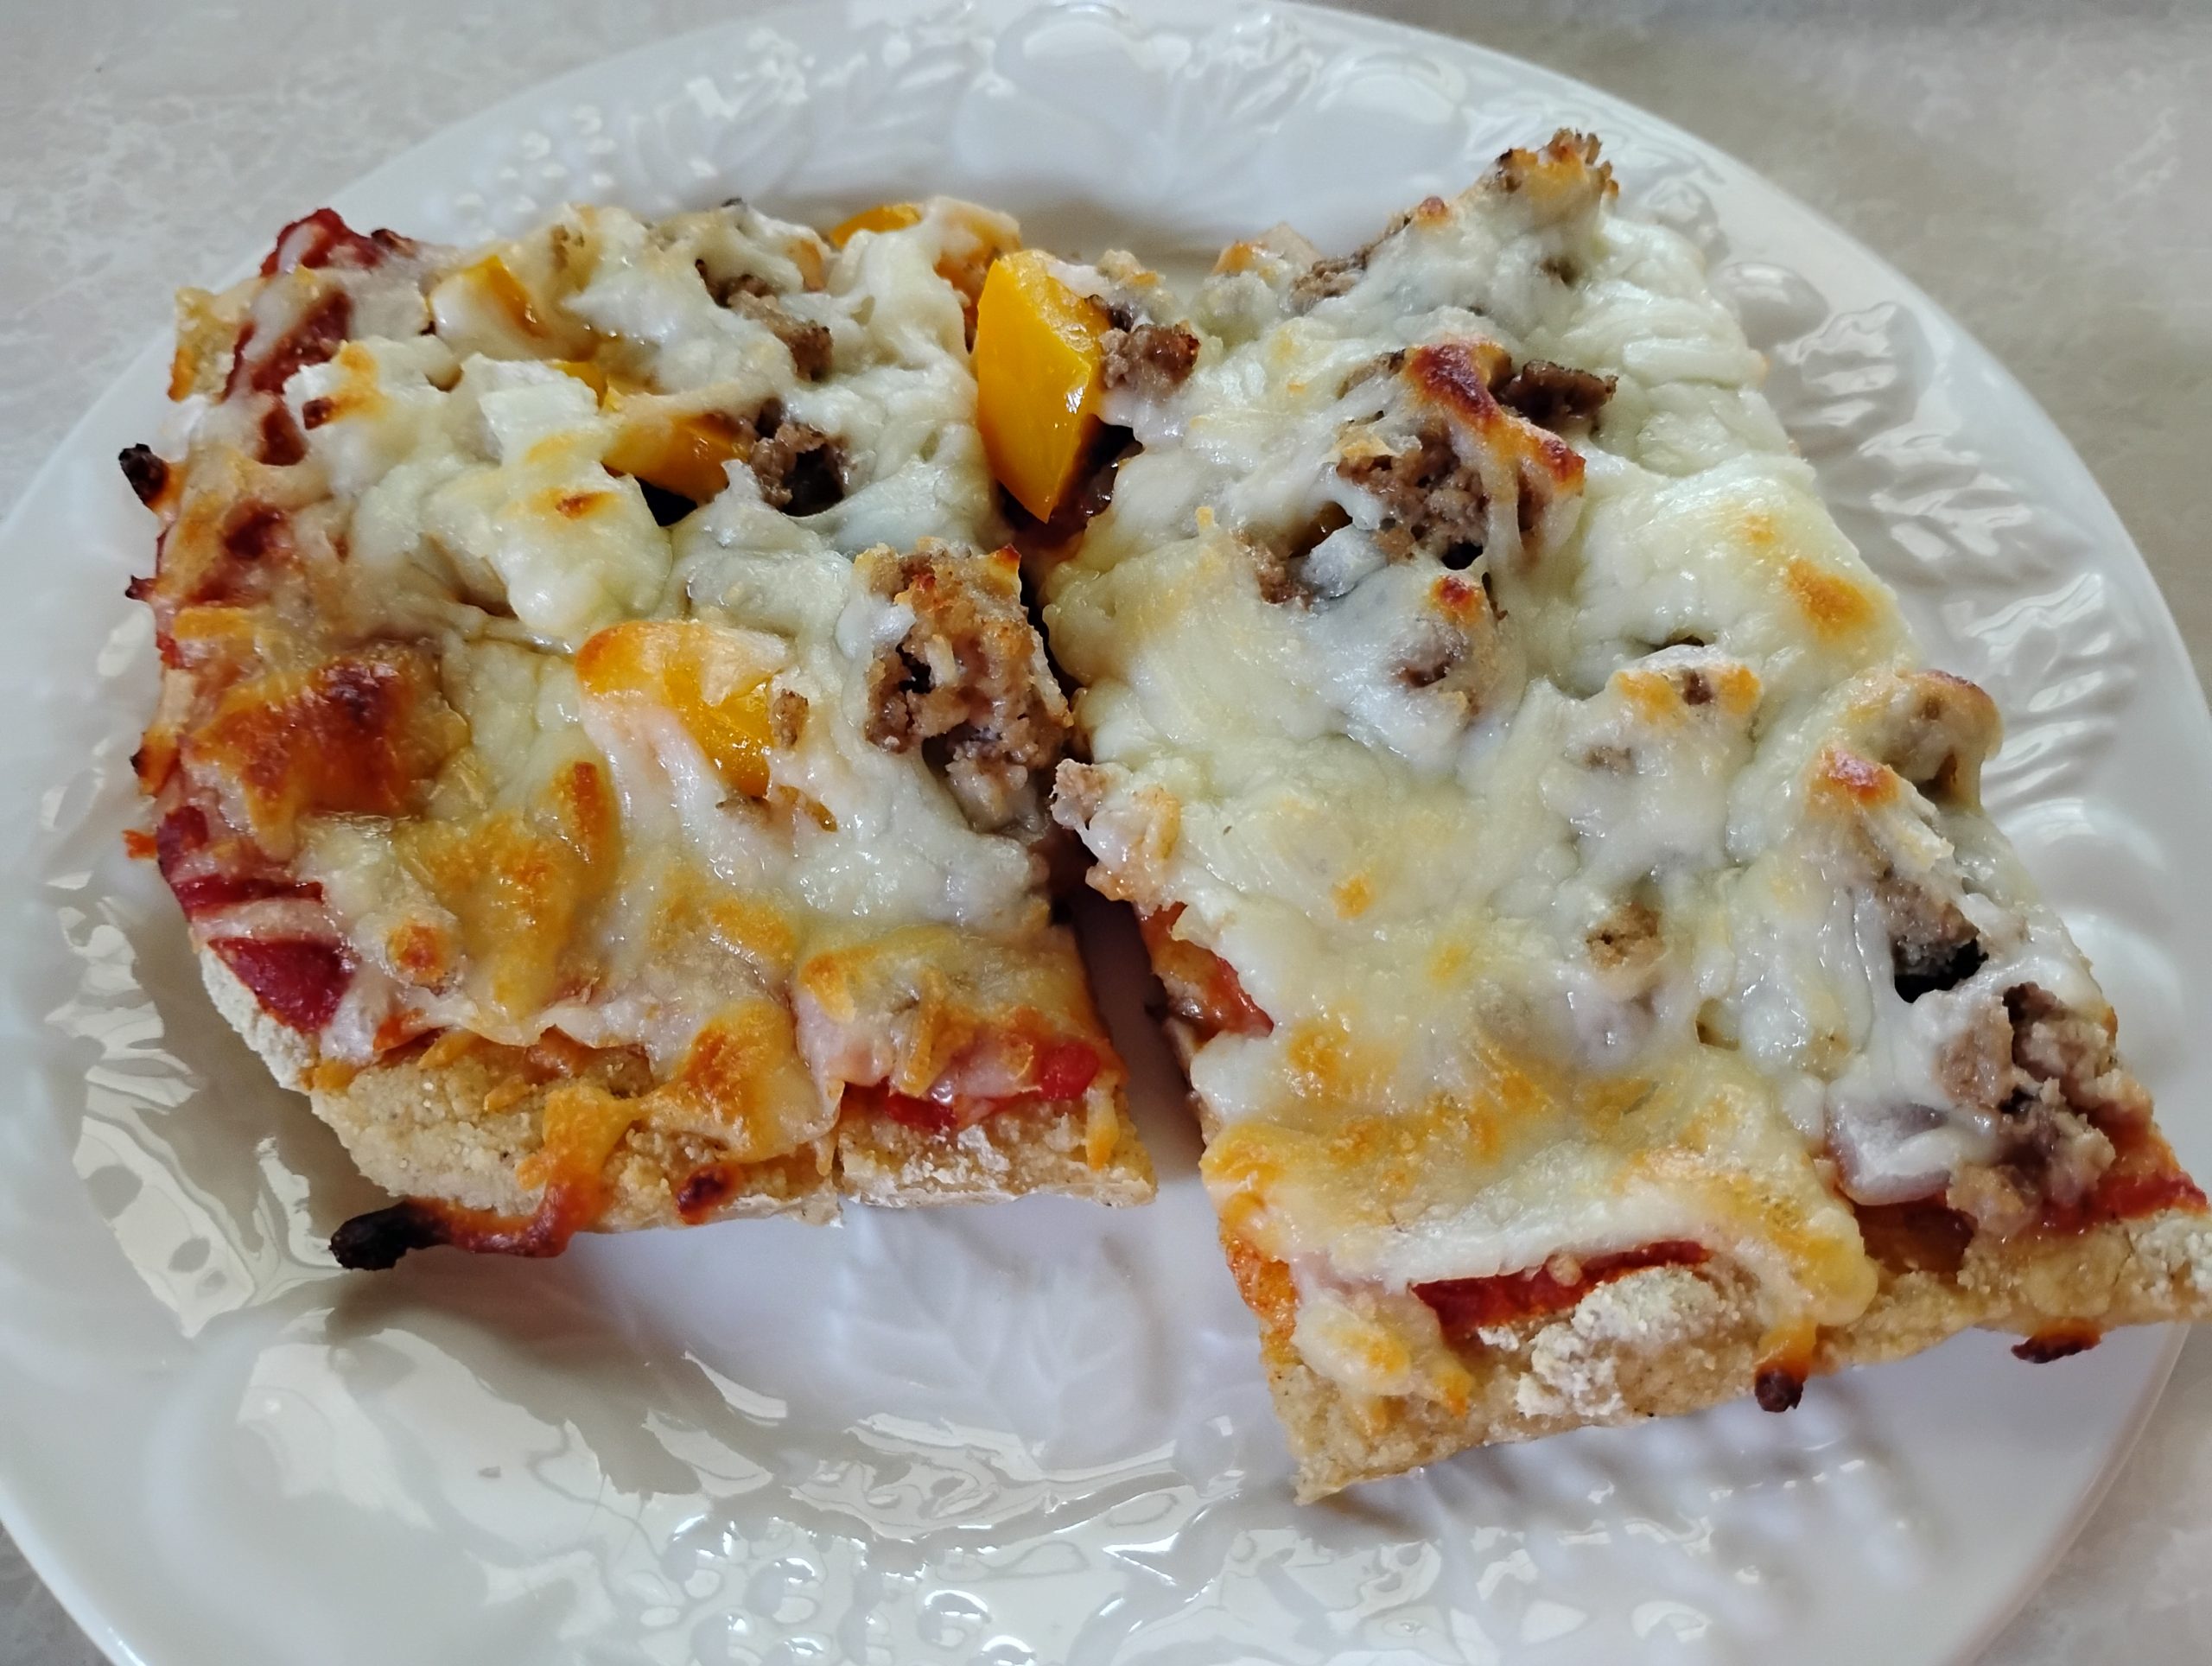
Homemade Gluten-Free Pizza Crust
There was a time when I thought good pizza was something we had to give up after going gluten-free.
We tried frozen pizzas, expensive store-bought crusts, and recipe after recipe. Some were dry, some were crumbly, and most just didn’t taste like the pizza we remembered.
Then I discovered a wonderful pizza crust recipe from Loopy Whisk, and it completely changed pizza night in our home.
This pizza crust recipe was originally created by Loopy Whisk. It has become our family’s favorite gluten-free pizza crust, and below I’m sharing why we love it, the ingredients I keep stocked in my pantry, and the tips I’ve learned after making it many times. You can find the original recipe here: Easy Gluten Free Pizza Dough – The Loopy Whisk.
It has a soft, chewy interior, crispy edges, and a flavor and texture that come closer to traditional pizza than any gluten-free crust I’ve tried. Even the members of our family who aren’t gluten-free enjoy this pizza, and it has become one of the recipes we make again and again.
Don’t Be Intimidated by the Ingredients
When you’re first learning to bake gluten-free, ingredients like millet flour, sorghum flour, tapioca starch, and psyllium husk can seem strange or intimidating.
I remember wondering if it was really worth buying all of these specialty ingredients.
For our family, the answer has been a definite yes.
Millet flour, sorghum flour, and tapioca starch have become my favorite combination for almost all of my homemade bread recipes. I use these same ingredients for pizza crust, sandwich bread, pita bread, and English muffins, so they never sit unused in my pantry.
If you’re planning to make homemade gluten-free breads regularly, these ingredients are well worth purchasing.
When I first started baking gluten-free, I bought many of my ingredients from Amazon. Today, I usually purchase them through Azure Standard or our local Amish bulk food store because it’s much more economical for the amount of baking we do.
Ingredients
This pizza crust is made with:
- Millet flour
- Sorghum flour
- Tapioca starch
- Psyllium husk
- Salt
- Sugar
- Yeast
- Warm water
- Olive oil or avocado oil
- Apple cider vinegar
Disclosure: As an Amazon Associate, I earn from qualifying purchases. This comes at no additional cost to you. Thank you for supporting Gather Around the Gluten Free Table!
Tips for Success
Weigh Your Ingredients
One of the biggest secrets to successful gluten-free baking is weighing your ingredients.
Unlike traditional baking, measuring gluten-free flours by volume can produce very different results. Using a digital kitchen scale gives much more consistent, reliable dough every time.
Mix Ingredients Well
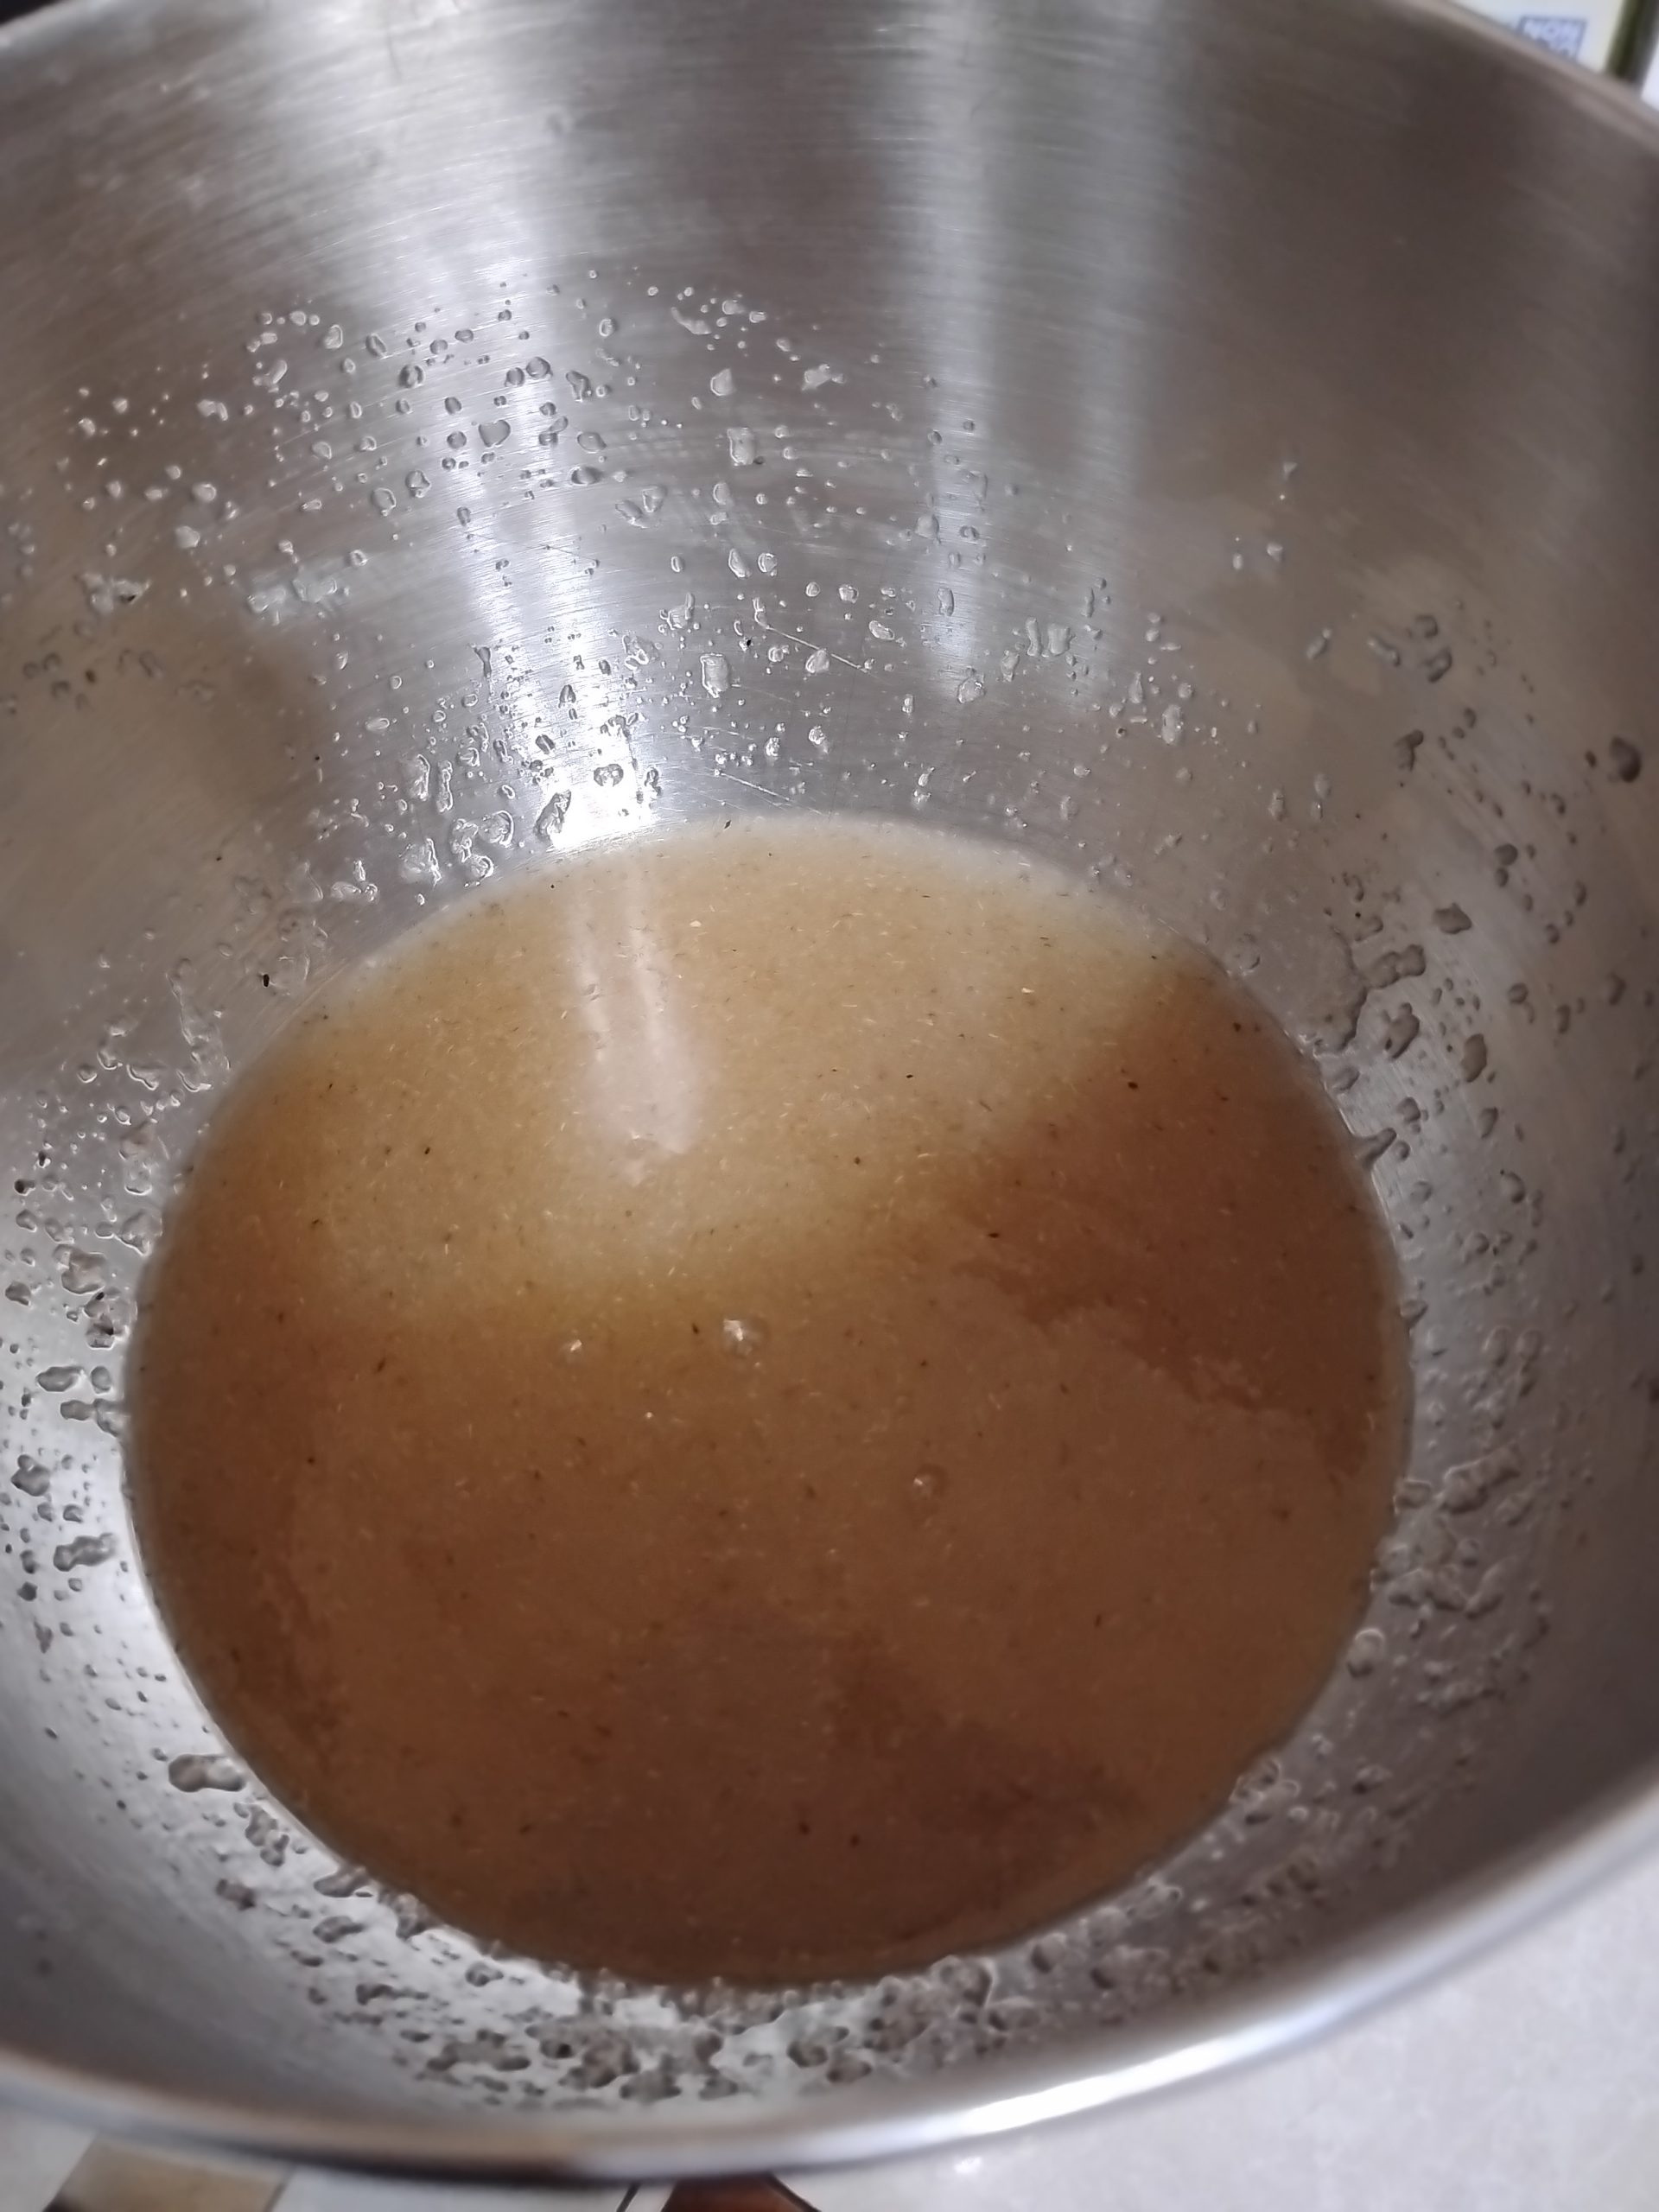
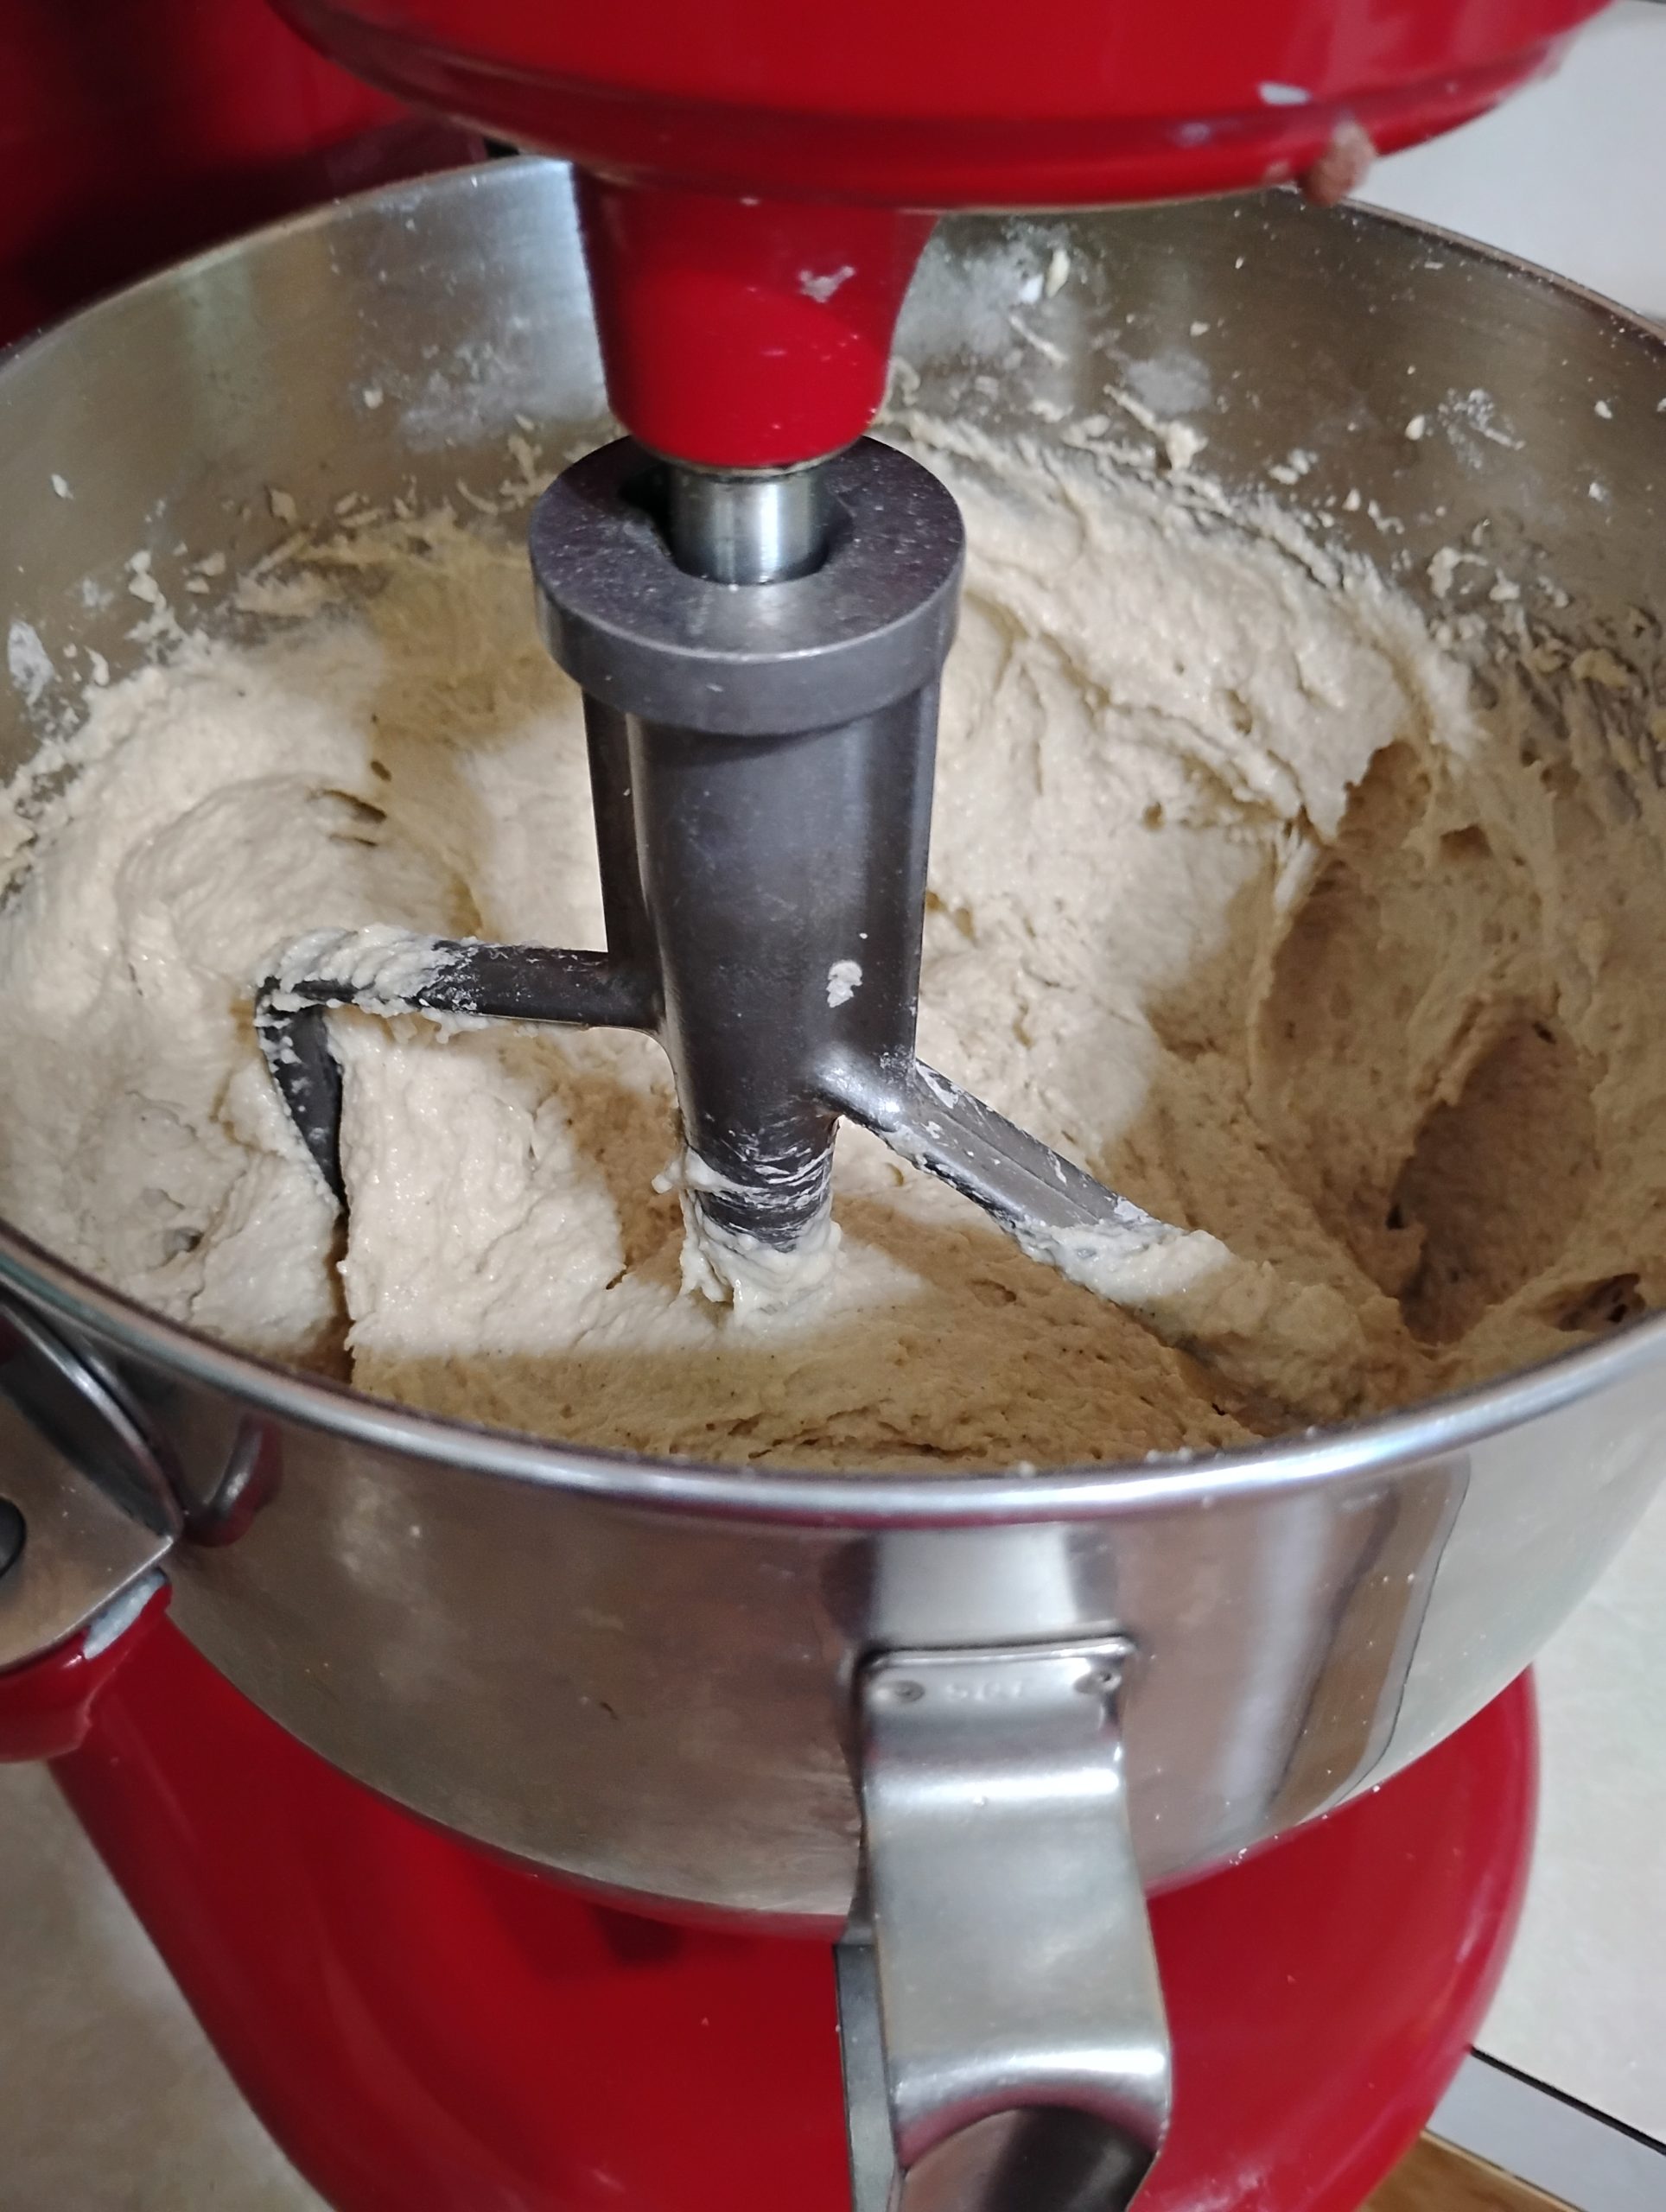
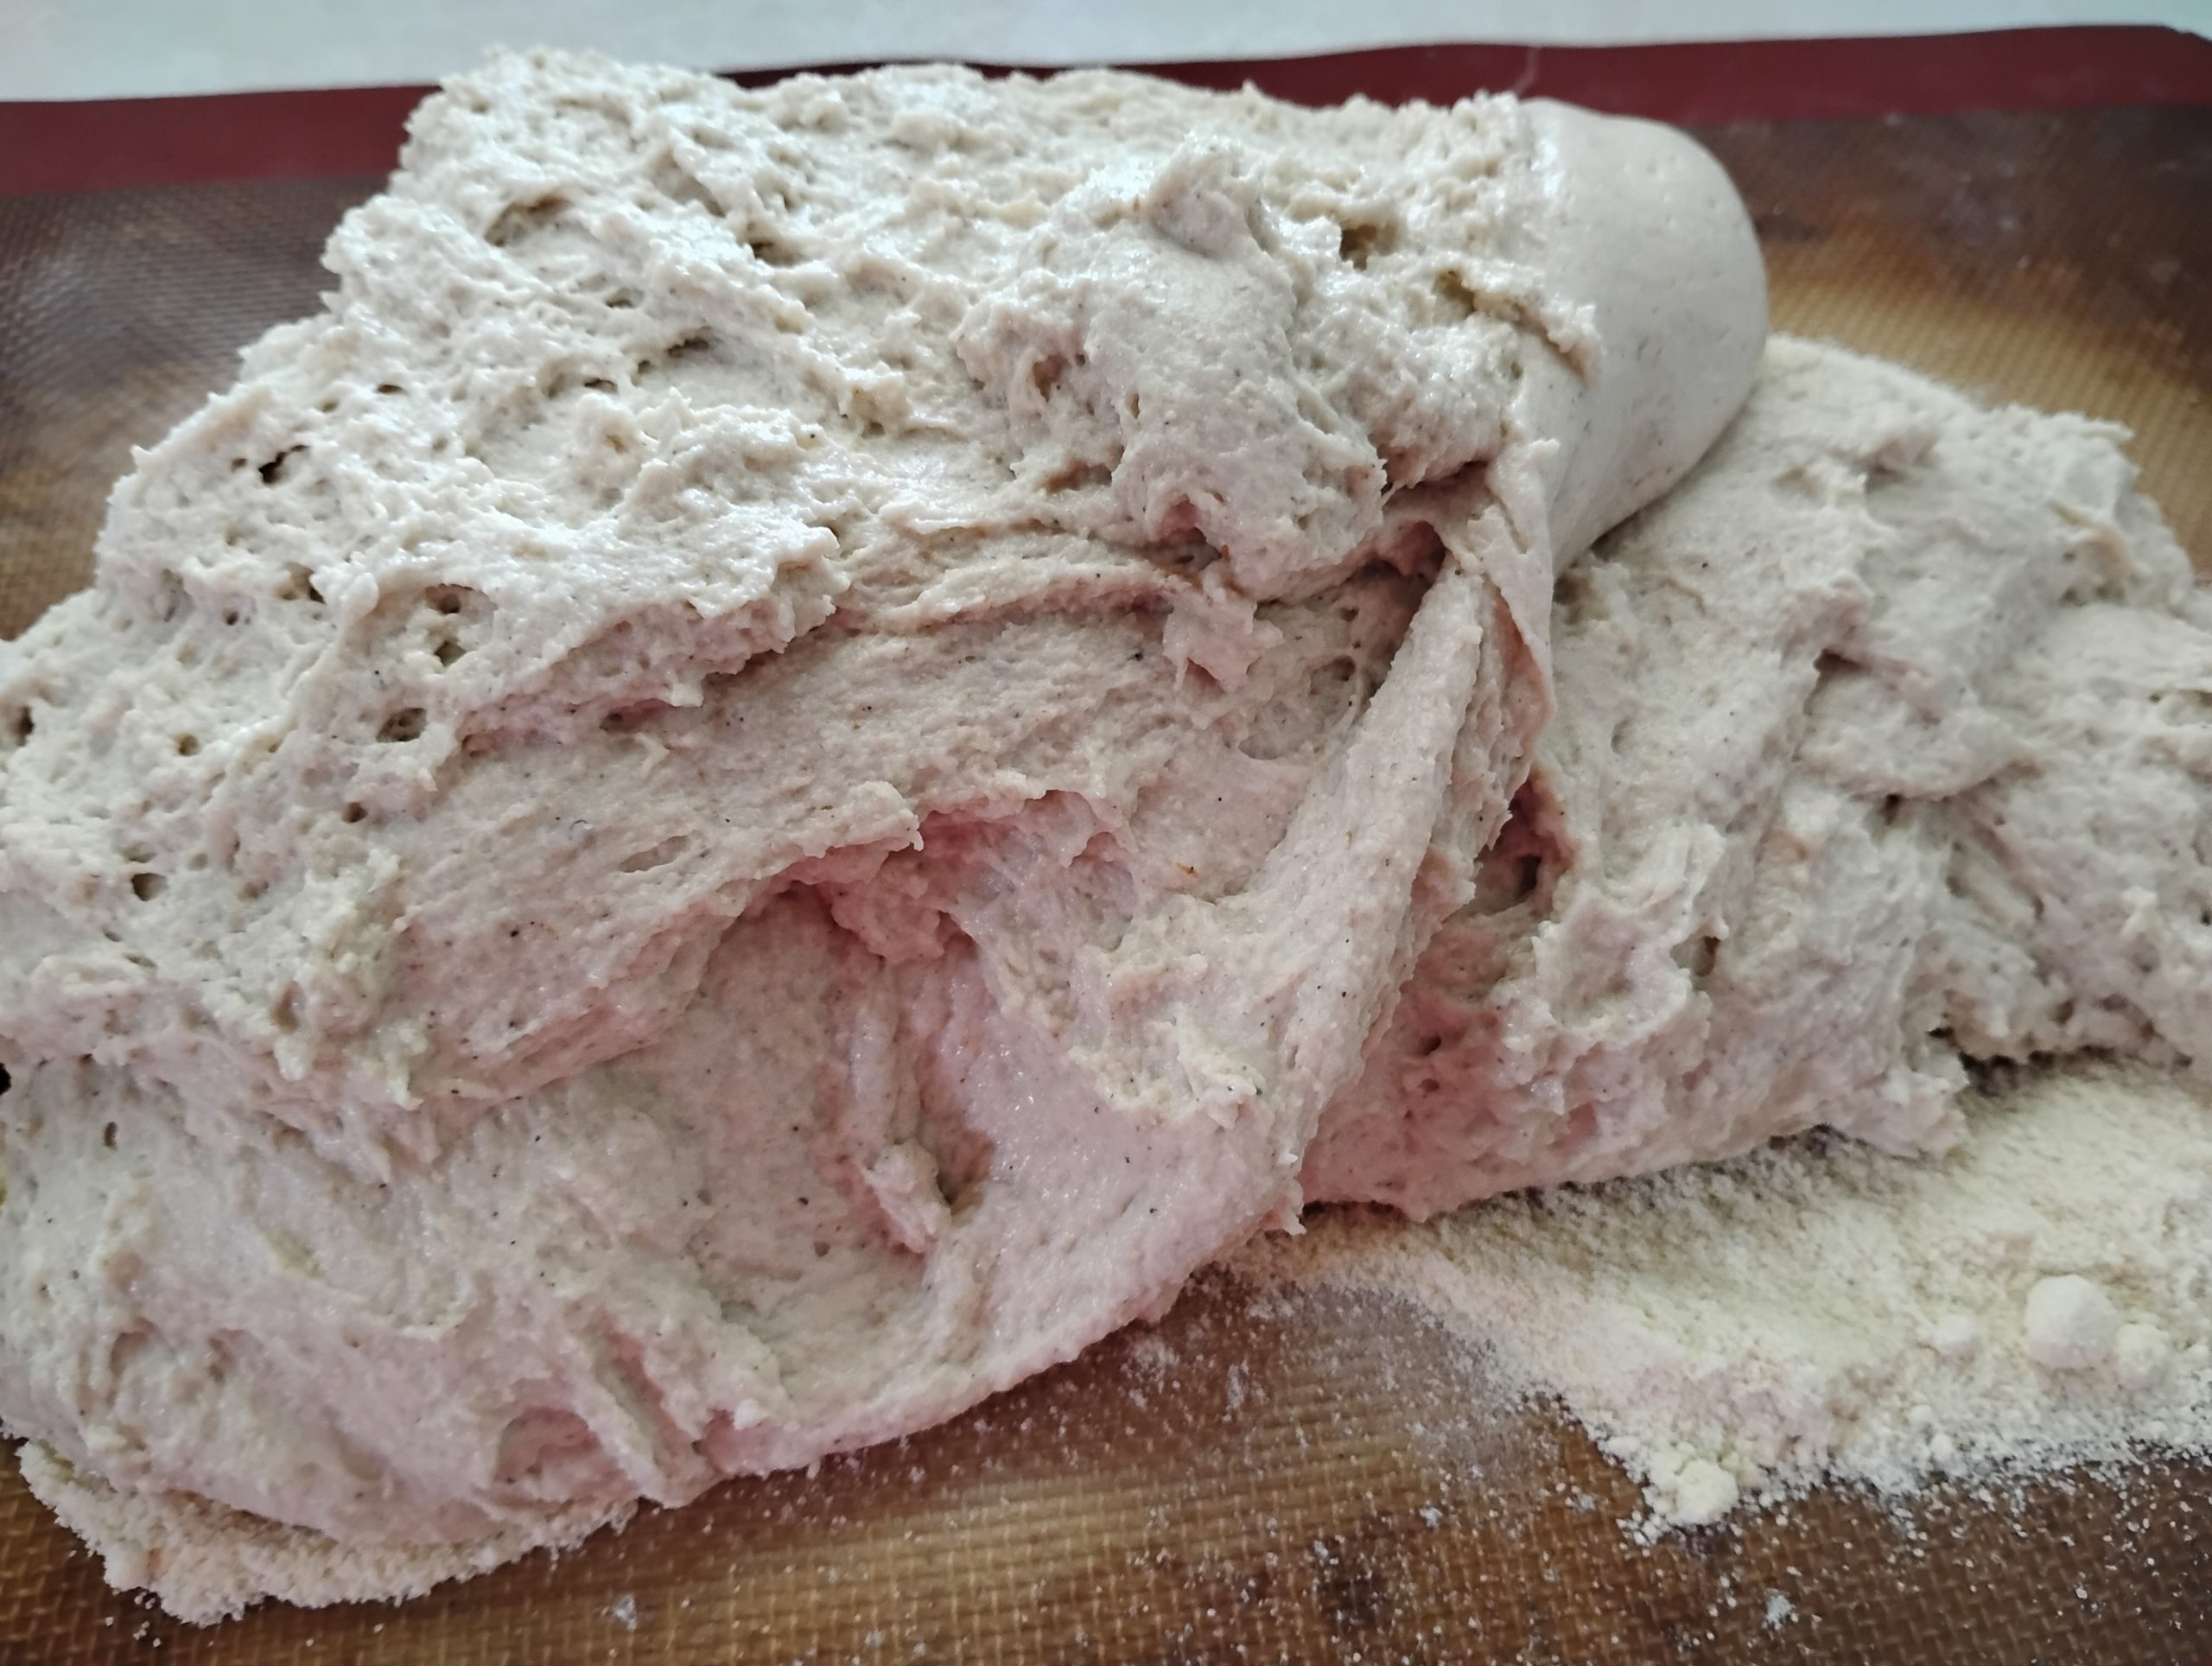
I like to first prepare my psyllium husk as suggested. I then add the rest of the ingredients and mix well in my KitchenAid Mixer. You may work it by hand, but it will take a few minutes. I usually let it mix on high for 5 minutes to incorporate all of the ingredients.
Let the Dough Rest If You Have Time
One of the things I love about this recipe is that the dough comes together quickly.
If I’m in a hurry, I’ll mix it and press it directly into the pizza pan.
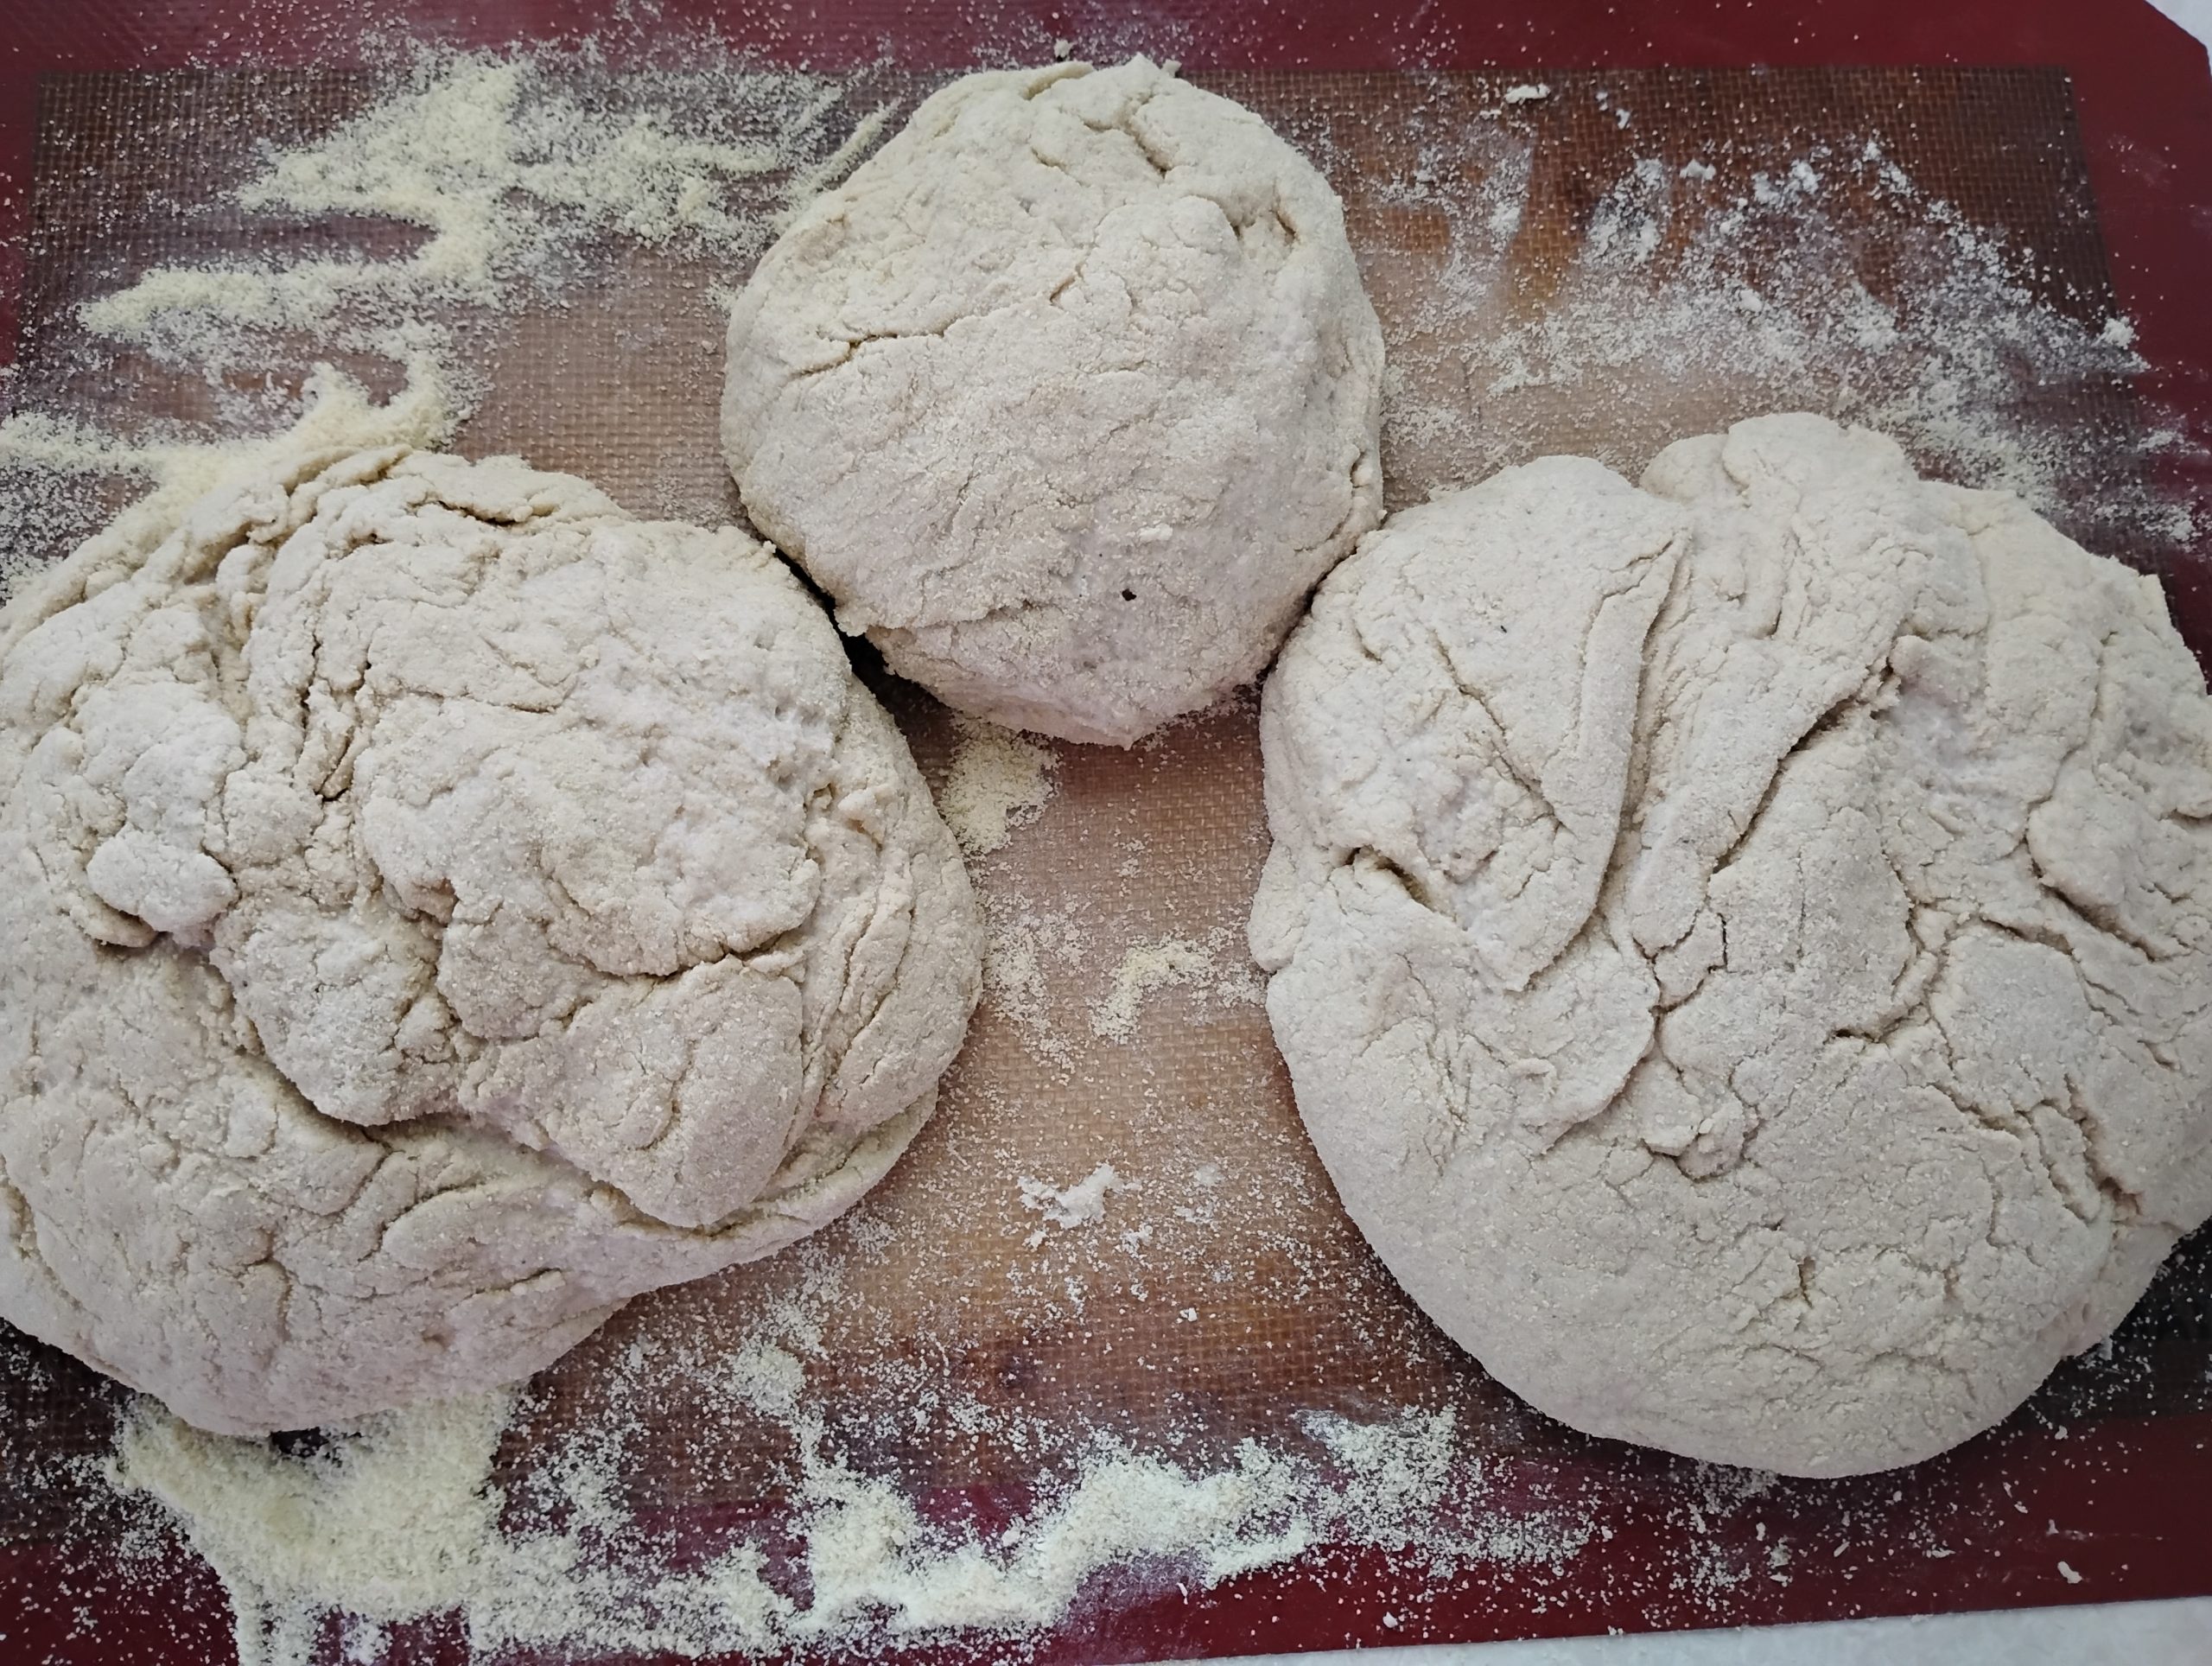
If I have a little extra time, I like to let the dough rest or rise as a ball for about an hour before shaping it. While it’s not required, I think it gives the finished crust an even nicer texture.
Be Patient While Shaping
This dough doesn’t behave exactly like traditional wheat dough.
It usually takes me a couple of minutes to gently press it across the pizza pan. Just keep working it toward the edges with your hands. If needed, lightly dust the top with a little millet flour to keep it from sticking.
How I Bake It
I like using an aluminum pizza pan lined with parchment paper.
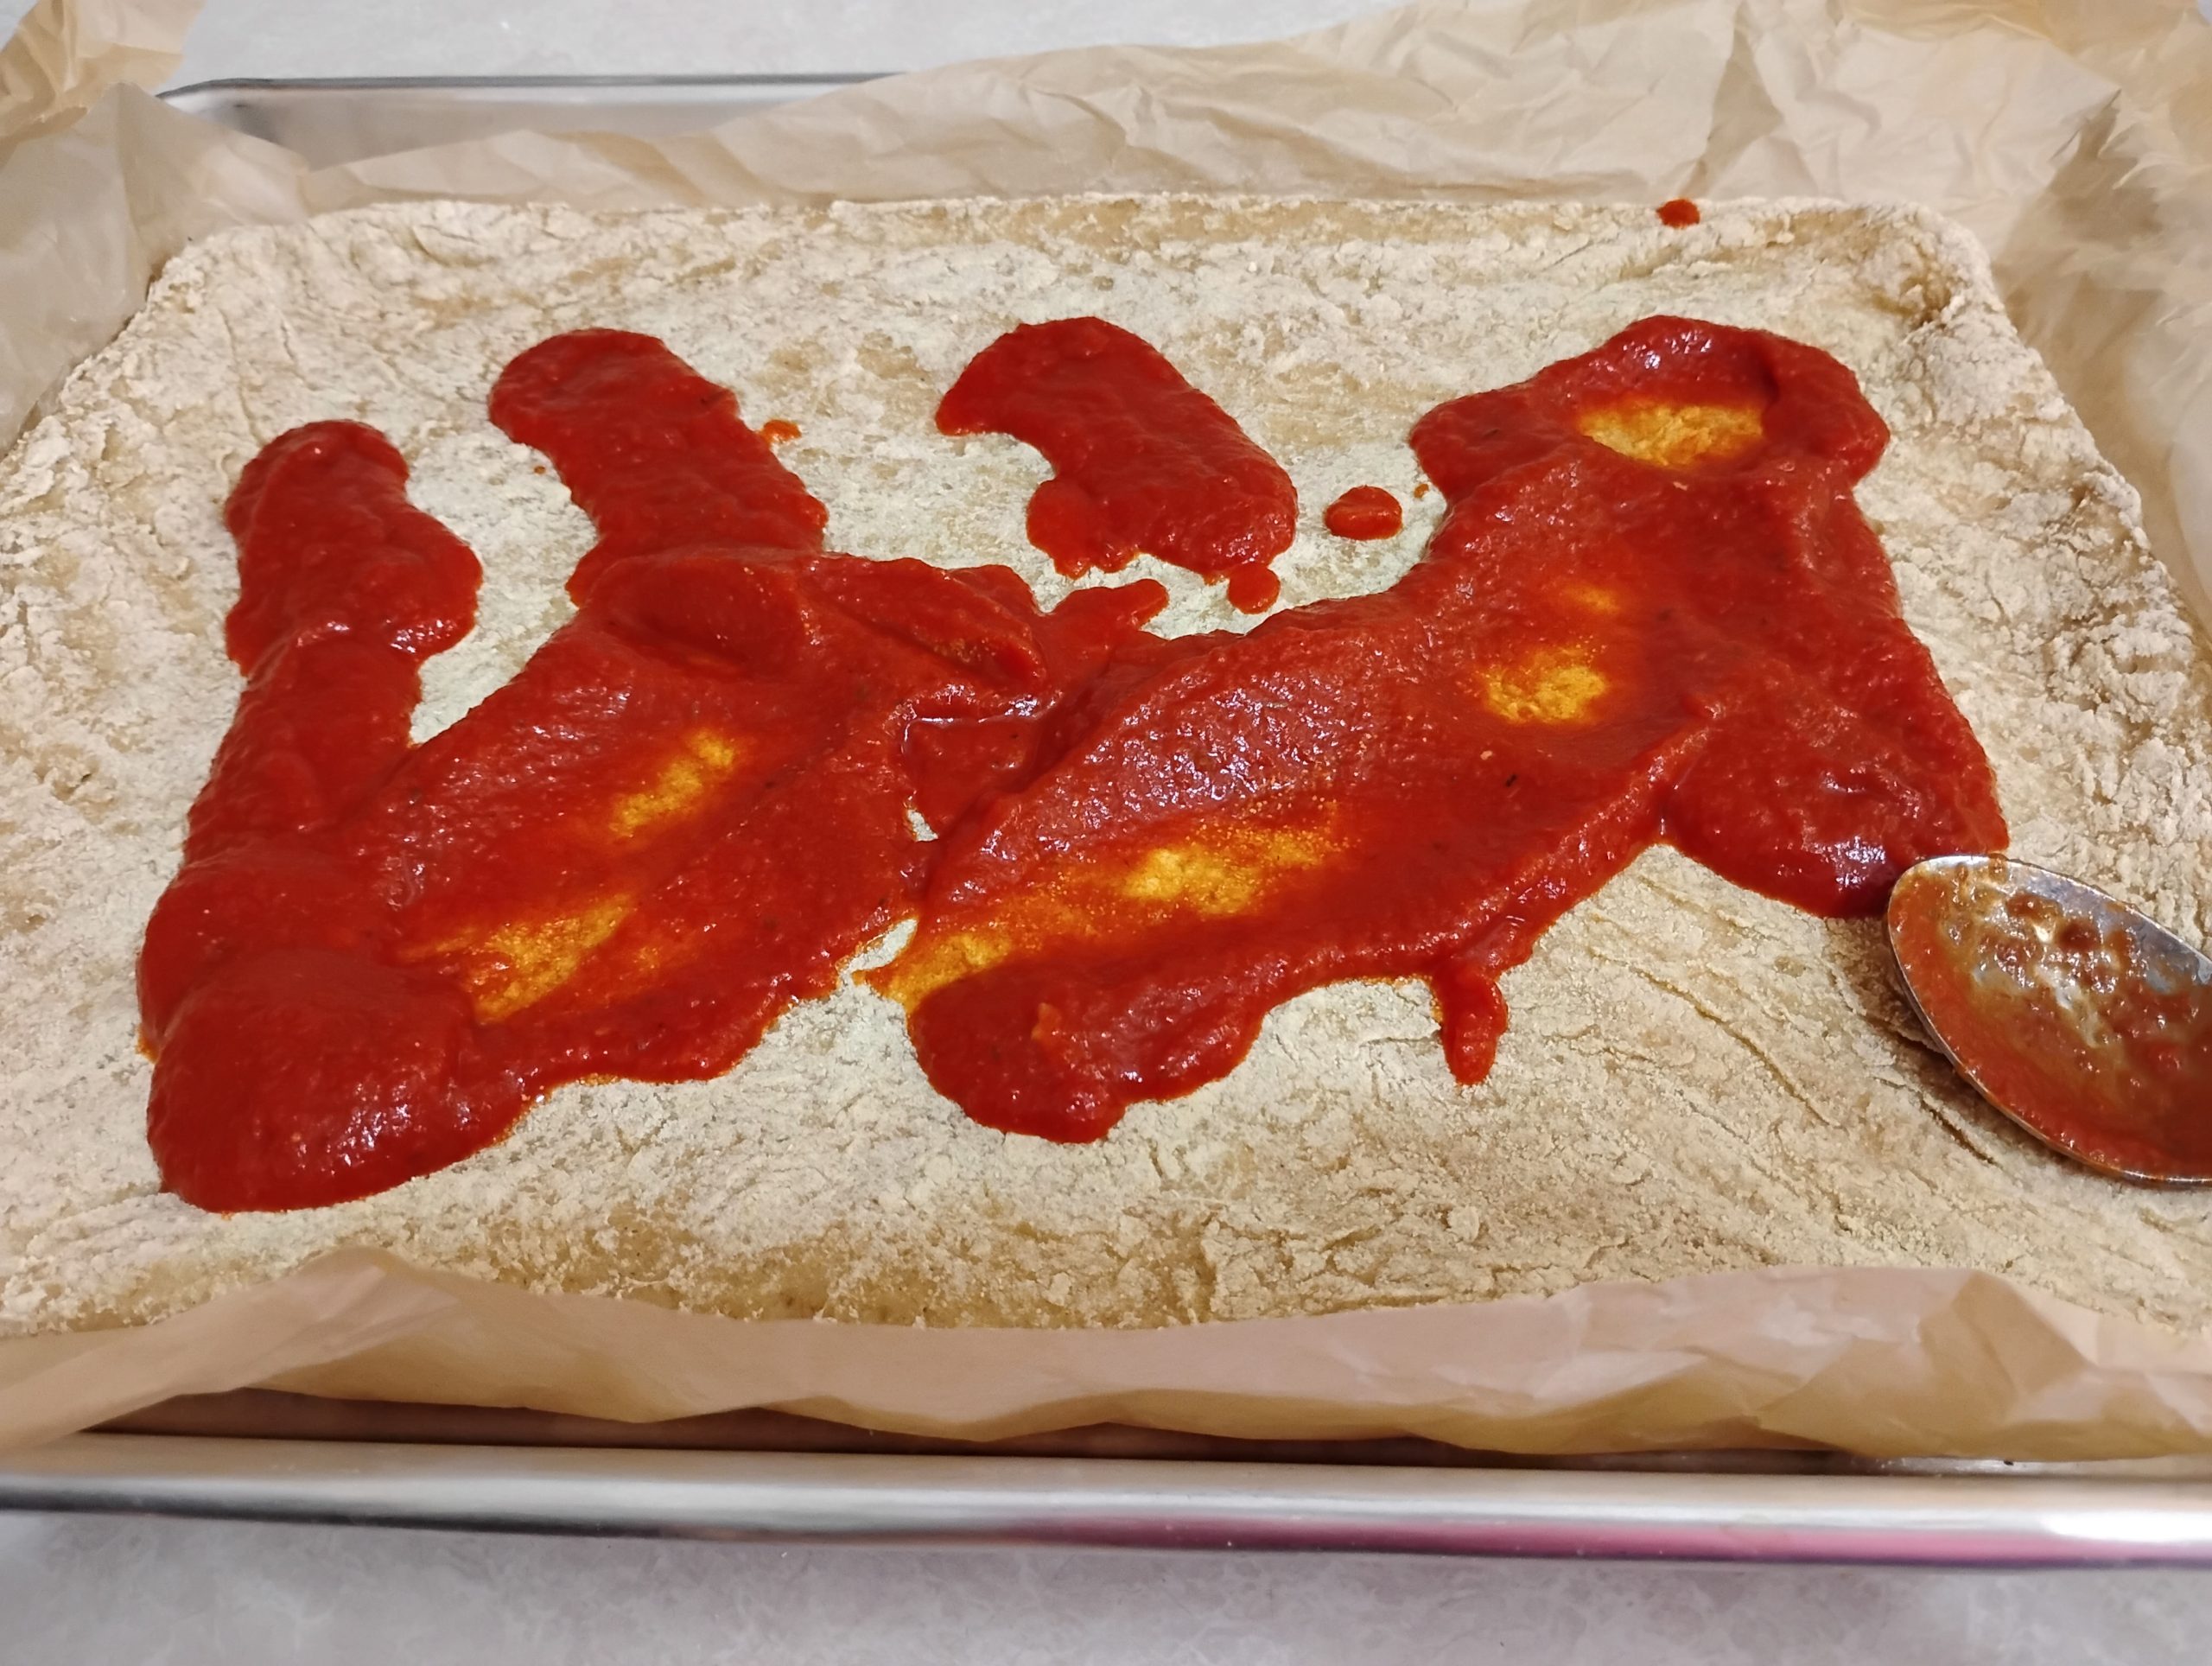
First, I press the dough evenly into the pan.
Then I par-bake the crust at 450°F for about 10 minutes.
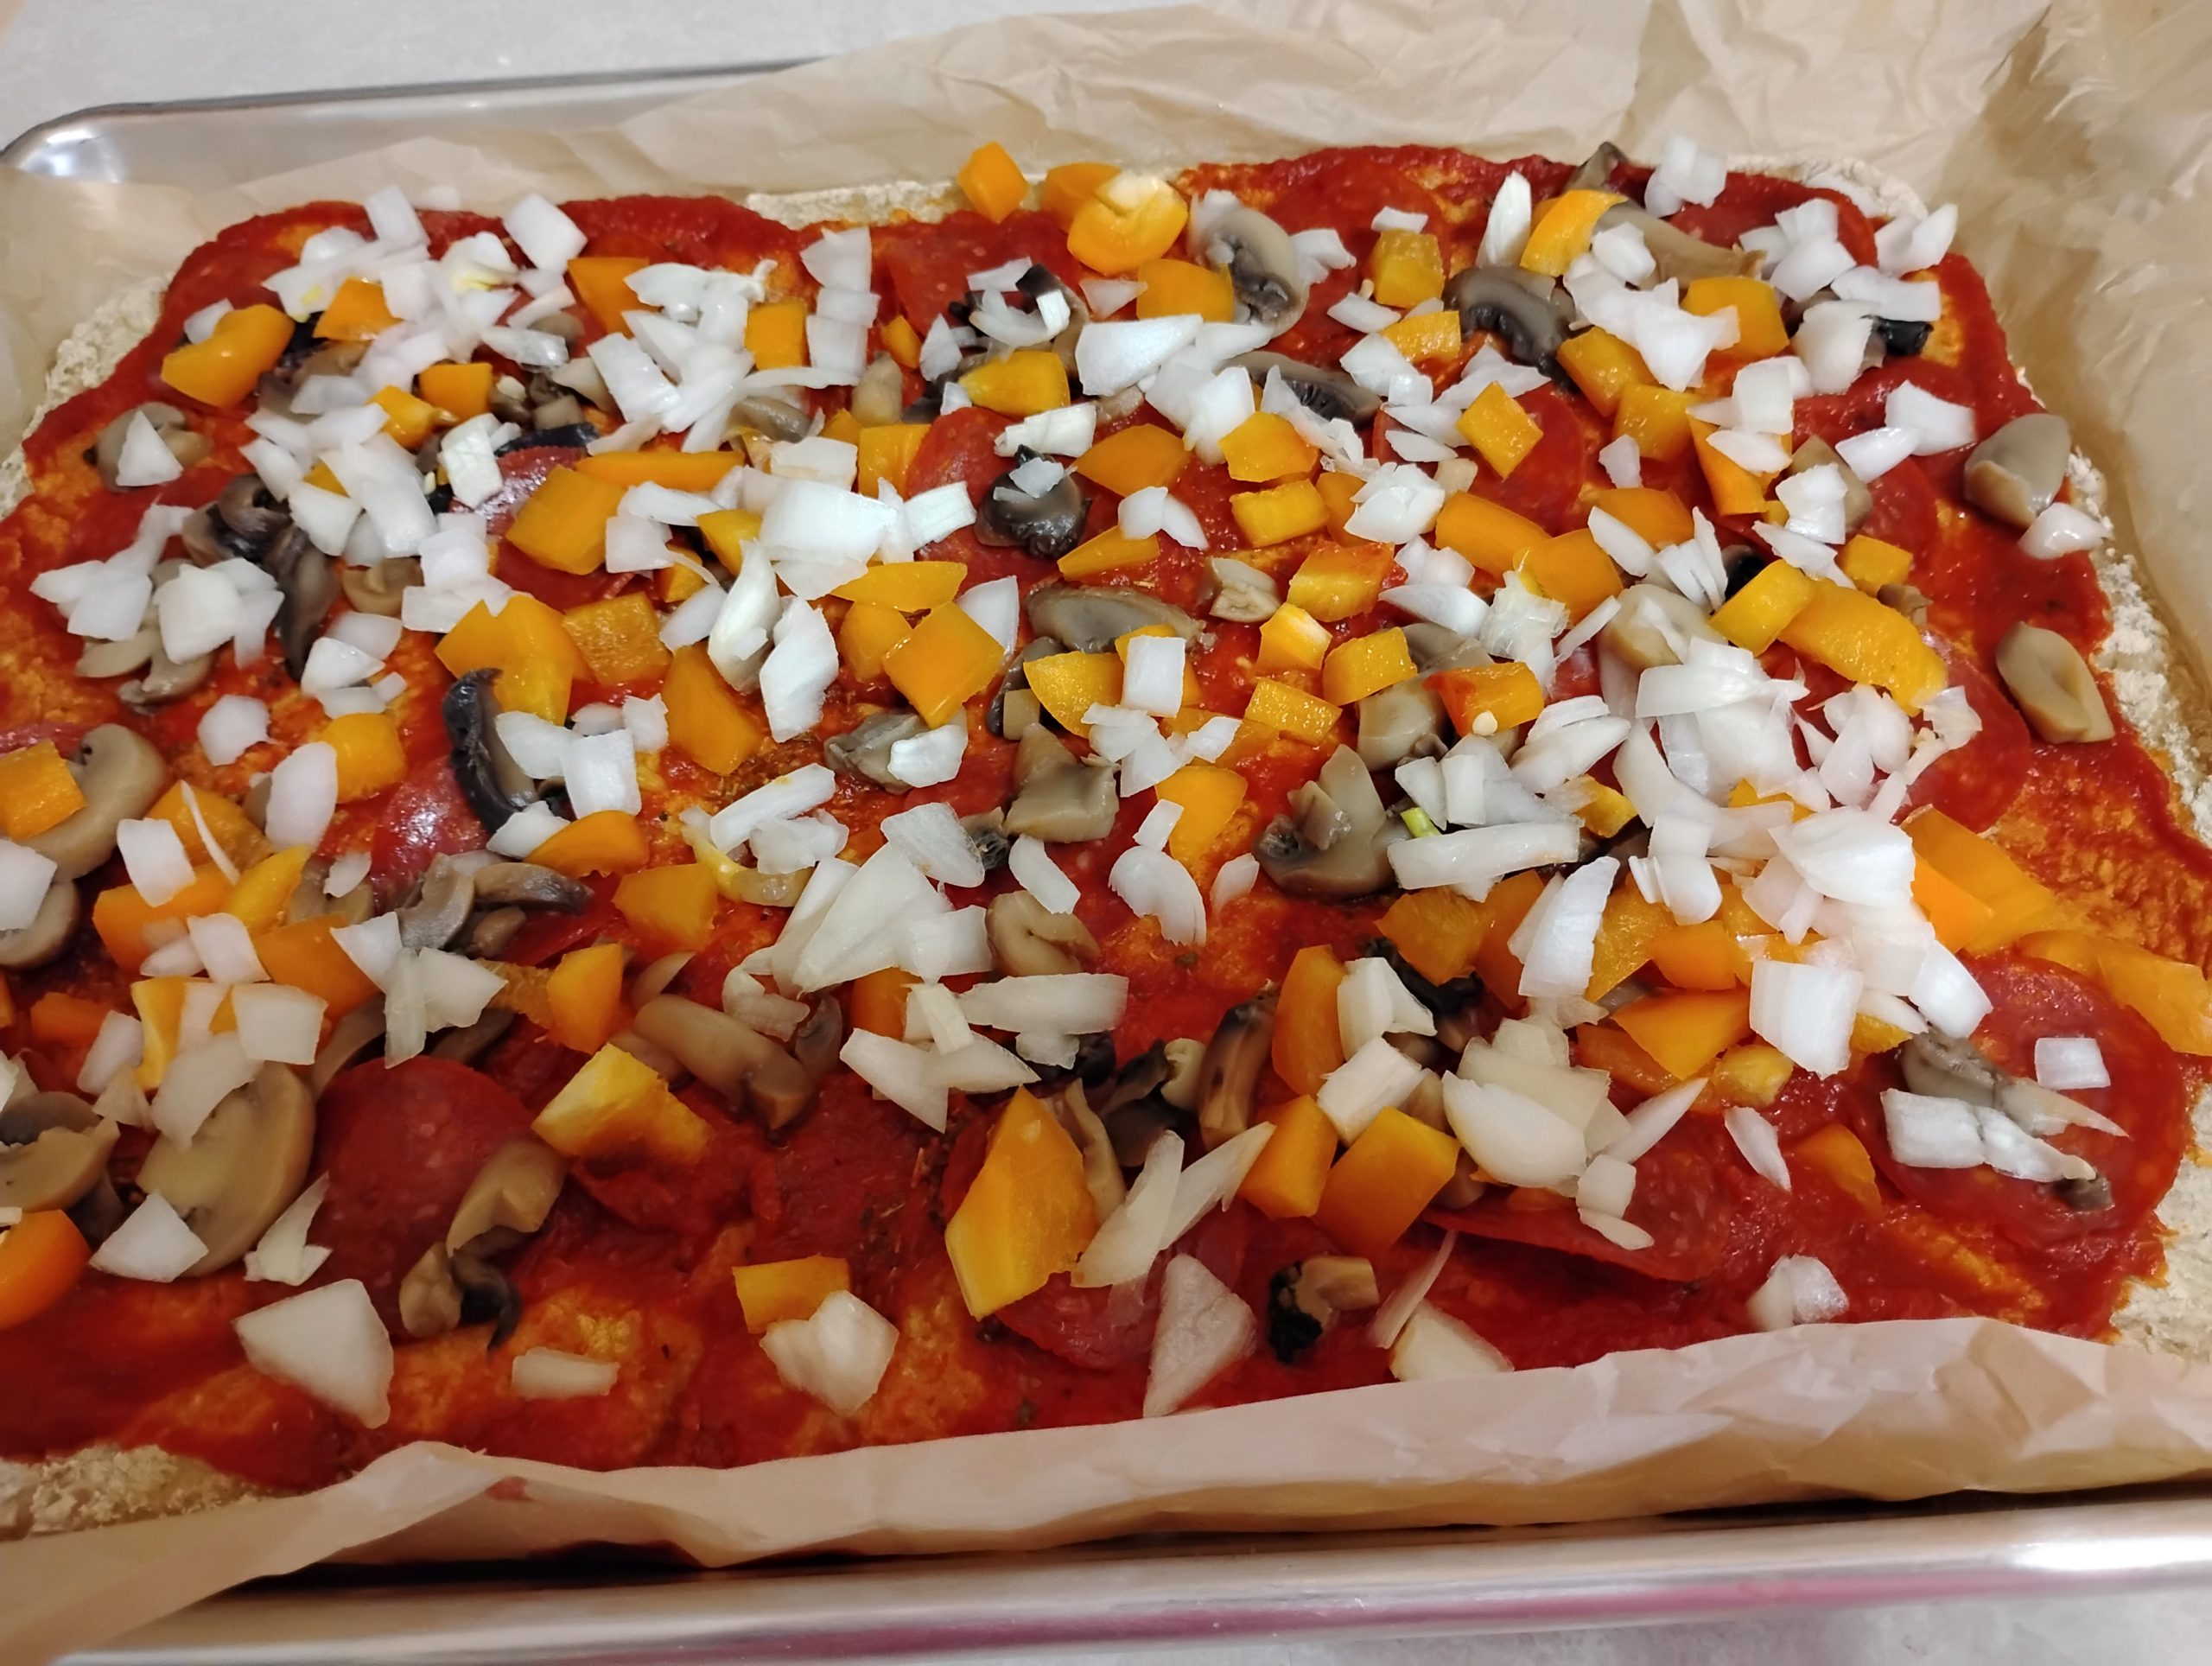
After that, I remove it from the oven, add the sauce, cheese, and toppings, and bake it for another 10–15 minutes, until the cheese is melted and just beginning to brown around the edges.
Our Favorite Pizza Sauce
We usually keep our pizza sauce simple.
Most often, I use Ragu Simply pasta sauce with a little garlic powder, basil, and oregano stirred in.
If I’m trying to save a little money, I’ll mix together:
- One small can of tomato paste
- A little water to thin it
- Garlic powder
- Basil
- Oregano
It makes an inexpensive and delicious homemade pizza sauce.
Our Favorite Toppings
Every family has their favorites, but ours usually includes:
- Ground beef
- Pepperoni
- Italian Sausage
- Bell peppers
- Onions
- Mozzarella cheese
- Mushrooms
Simple toppings let the crust really shine.
Doubling the Recipe
Our family of seven almost always doubles this recipe to make two pizza crusts.
One pizza simply isn’t enough around our table, and the extra pizza makes wonderful leftovers.
The leftovers warm up beautifully in the microwave for a quick lunch or in the air fryer to crisp the crust again. It’s one of those meals that’s just as enjoyable the next day.
Final Thoughts
If you’re beginning your gluten-free journey, don’t give up on pizza.
It may take a few new ingredients and a little practice, but homemade gluten-free pizza really can taste amazing. This crust has become our family’s favorite, and it’s the closest we’ve found to traditional pizza since going gluten-free.
If you’ve been missing pizza, I hope you’ll give this recipe a try. It has brought many happy pizza nights back to our table, and I hope it does the same for yours.