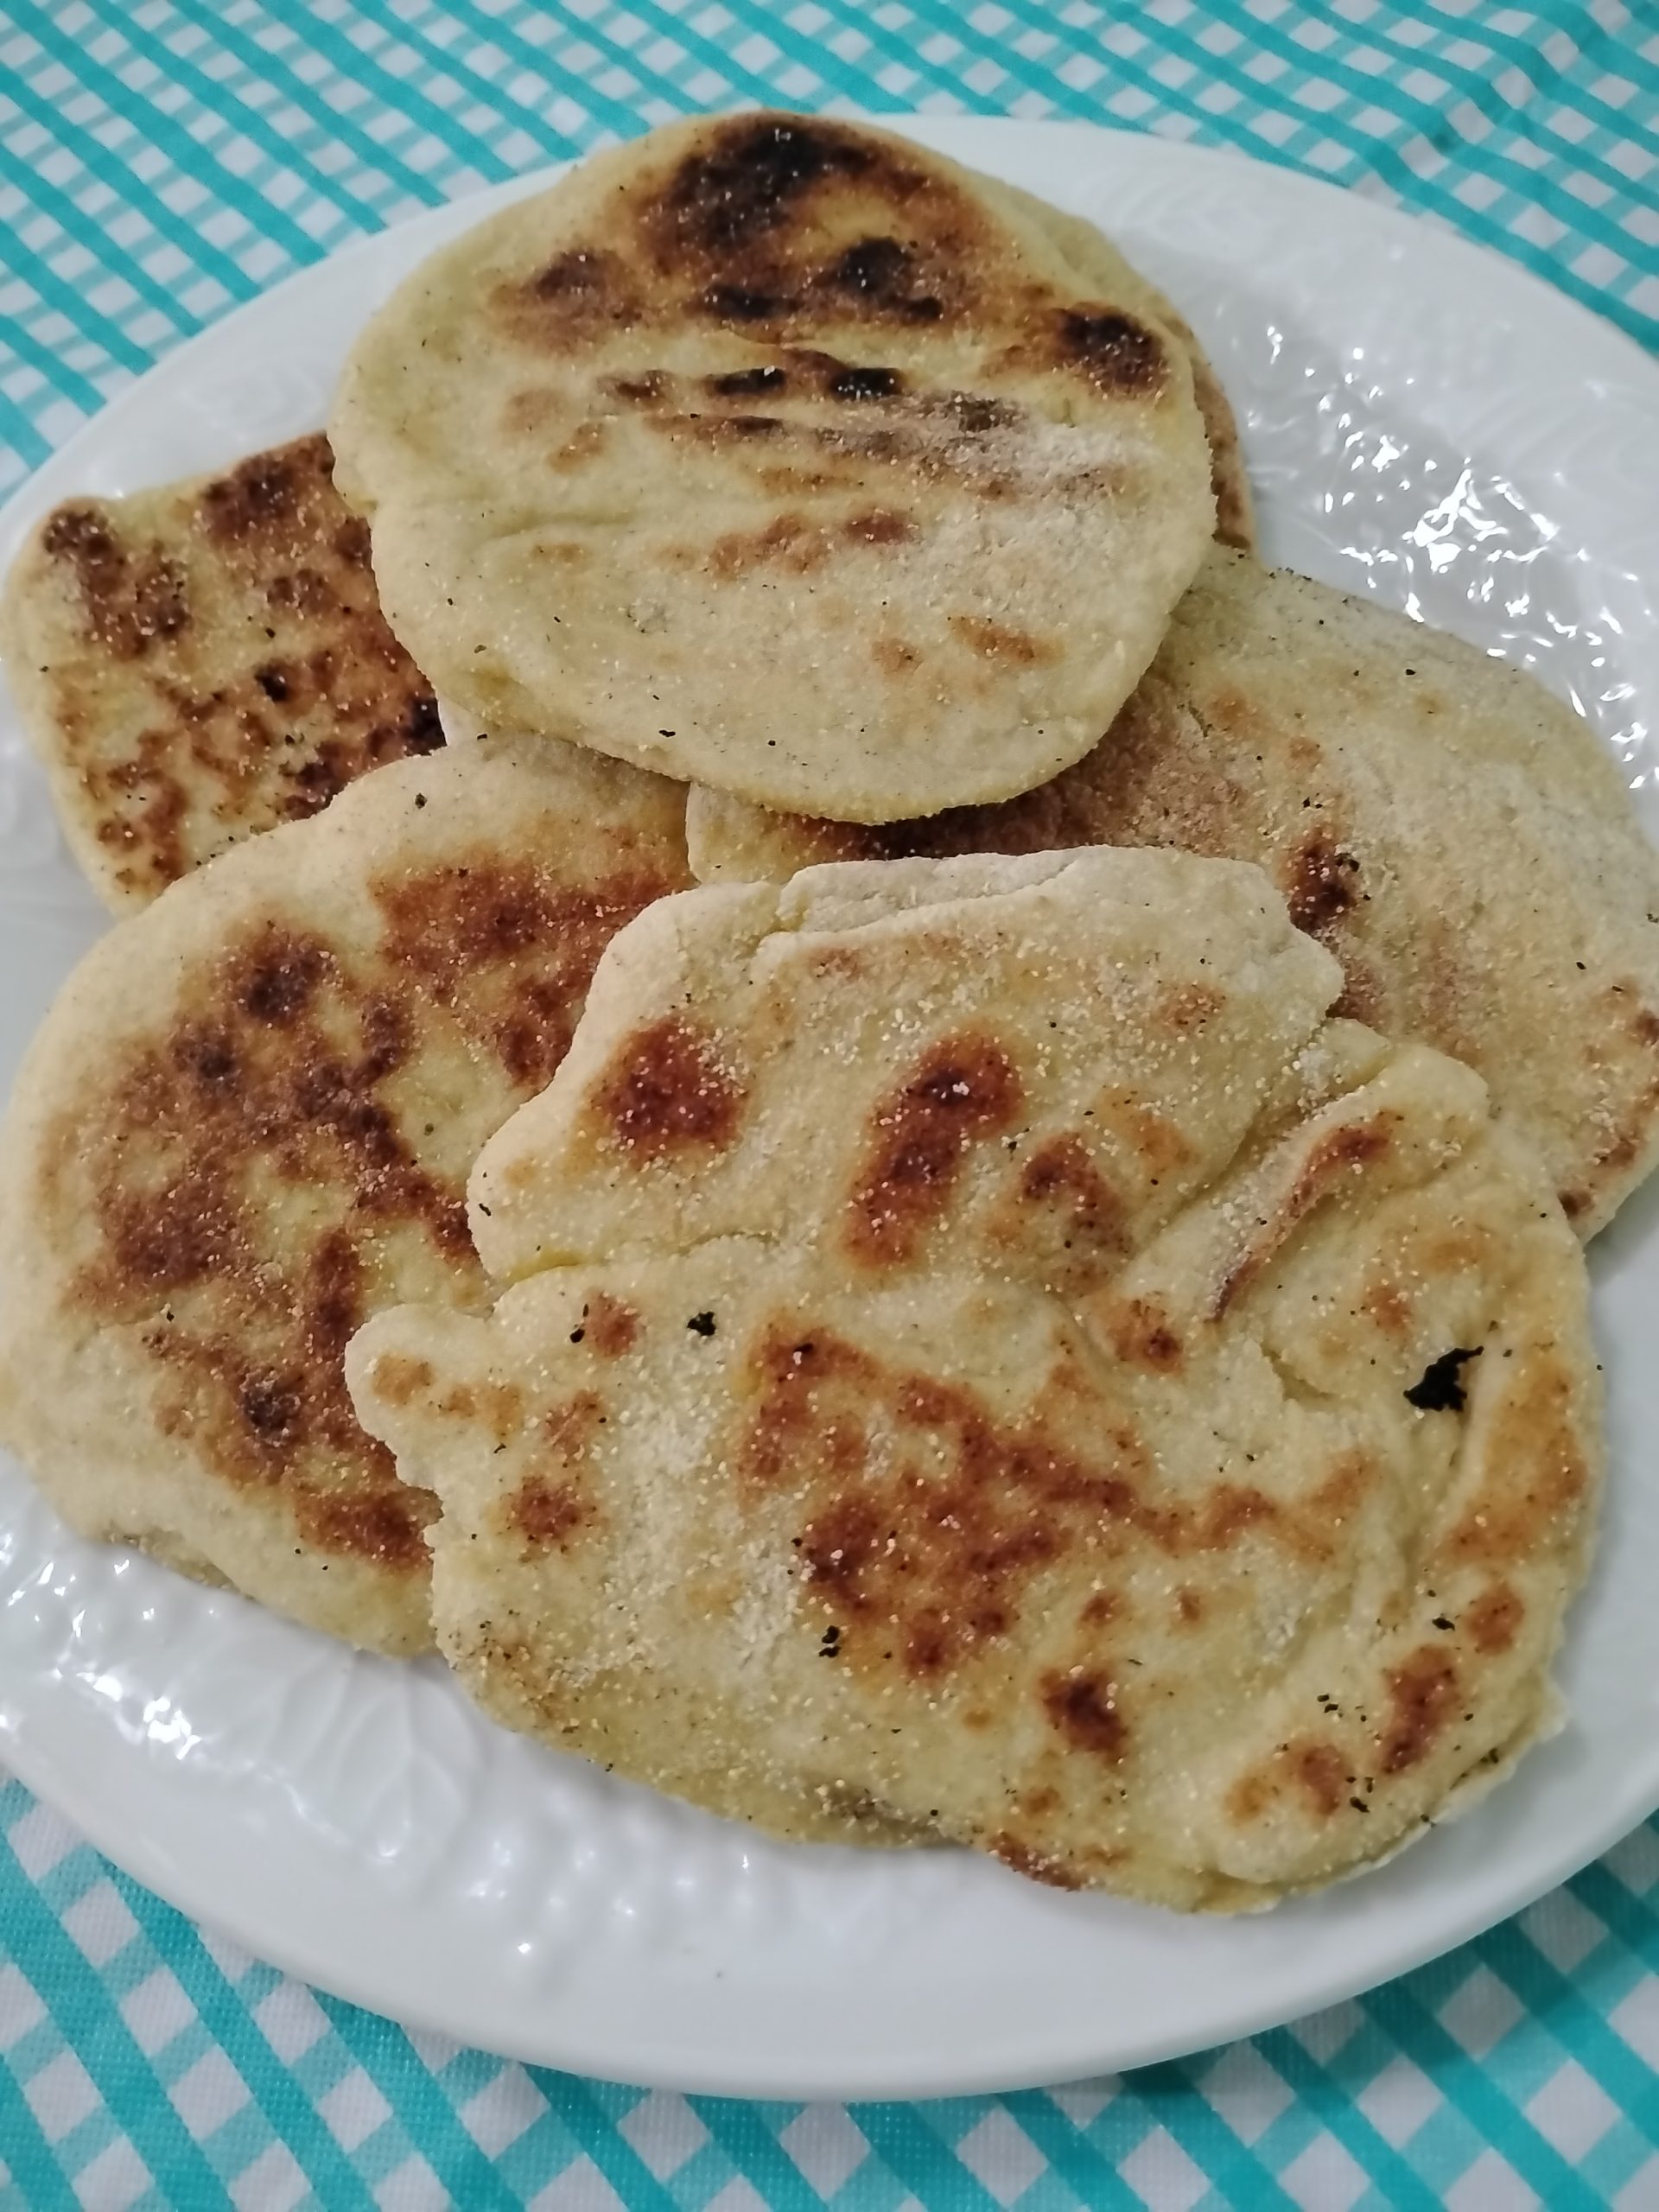
Homemade Gluten-Free Pita Bread
One of the things I missed most after going gluten-free was having a soft bread that could be used for sandwiches, wraps, or dipping into hummus. While there are some store-bought options available, they can be expensive and often don’t have the texture we were looking for.
After plenty of experimenting in the kitchen, this homemade gluten-free pita bread has become one of our family favorites. It is soft, flexible, and made with simple ingredients that I keep on hand in my pantry. Paired with homemade hummus and fresh vegetables, it makes an easy lunch, snack, or meal on the go.
A pita bread recipe from Loopy Whisk inspired this recipe. I have adapted it to fit the ingredients and methods that work best for my family.
Why We Love This Combination
There is something satisfying about making both the bread and the dip from simple pantry ingredients. Not only does it save money compared to many store-bought gluten-free options, but it also allows me to control exactly what goes into our food.
This meal is:
- Gluten-free
- Dairy-free
- Easily corn-free depending on ingredients used
- Made with simple pantry staples
- Great for lunches, snacks, picnics, and road trips
- Budget-friendly compared to many convenience foods
Homemade Gluten-Free Pita Bread
The Ingredients
For this recipe, I use freshly milled millet flour, tapioca starch, psyllium husk, avocado oil, sugar, yeast, warm water, and salt.
One thing I have learned over the years of gluten-free baking is that weighing ingredients often produces much more consistent results than measuring by volume. While cups work, a kitchen scale helps ensure the recipe turns out the same every time.
For this batch, I used freshly milled millet flour that I ground in my Mockmill. If you don’t mill your own flour, you can also purchase millet flour ready to use. I also keep tapioca starch and psyllium husk on hand since they are staples in many of my gluten-free recipes.
One thing I’ve learned over the years is that homemade gluten-free baking can feel expensive at first. Purchasing specialty ingredients like millet flour, tapioca starch, and psyllium husk requires an investment up front. However, those ingredients are used over and over again in many different recipes. Once I began keeping these staples in my pantry, I found that homemade gluten-free baking often cost much less than continually purchasing specialty breads and baked goods from the store.
Before I began milling my own flour and purchasing some ingredients in bulk, these were the products I used most often.
The links above are affiliate links. As an Amazon Associate, I earn from qualifying purchases at no additional cost to you.
The Secret: Psyllium Husk
One of the keys to soft gluten-free pita bread is psyllium husk.
After mixing the psyllium husk with warm water, it forms a gel-like mixture. This step helps provide structure and flexibility that gluten would normally provide in traditional bread recipes.
Don’t skip the resting time. Giving the psyllium husk a few minutes to absorb the liquid helps create a dough that is easier to work with and results in softer pita bread.
Mixing the Dough
Once the psyllium gel is ready, I add the remaining ingredients and mix everything in my KitchenAid mixer.
The dough will not look like traditional wheat dough. Instead, it will be soft, slightly sticky, and smooth.
One mistake many people make with gluten-free bread is adding too much flour. If the dough seems softer than expected, that’s okay. Adding too much extra flour can make the finished pita bread dry and less flexible.
Shaping the Pitas
After mixing, I turn the dough onto a lightly floured surface and gently shape it into a ball.
I divide the dough into equal portions and flatten each one into a circle about ¼ inch thick. They do not need to be perfectly round. In fact, mine rarely are! Homemade food doesn’t have to be picture perfect to taste wonderful.
Once the pitas are shaped, I roll them lightly in millet flour. This helps reduce the stickiness and makes them easier to handle when transferring them to the skillet.
Cooking the Pitas
I cook the pita breads in a hot cast-iron skillet until both sides are lightly golden brown.
The exact cooking time will vary depending on your skillet and heat level, but I look for golden brown spots and a fully cooked center. It is usually around 4-6 minutes total.
Traditional pita bread often puffs enough to create a large pocket inside. Mine do not always puff dramatically, although I have been getting better results as I continue making them. Even when they don’t form a large pocket, they are still soft, delicious, and perfect for dipping.
The exact recipe I used can be found here:
Favorite Way to Serve
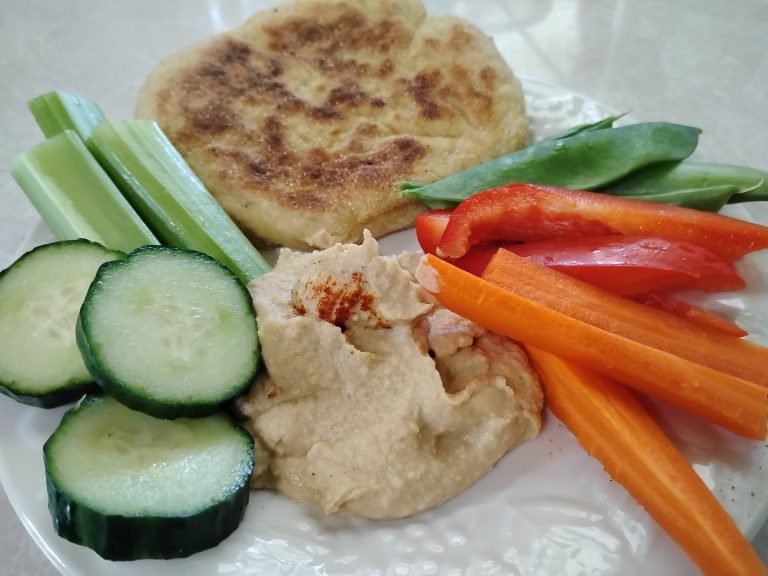
We enjoy serving this pita bread with homemade hummus and fresh vegetables for an easy lunch. The pita bread stores well in both the refrigerator and freezer, making it convenient to keep on hand. When we need a quick meal or snack, it only takes a few minutes to warm up and serve. It has become one of our favorite options for lunches at home, road trips, appointments, and meals on the go.
I have linked my favorite hummus recipe below:
Easy Garlic Hummus – Gather Around The Gluten Free Table